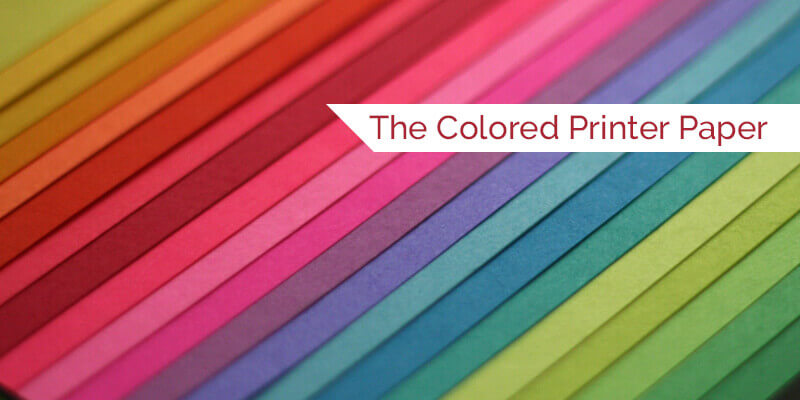
The best and the easiest design challenge is to print on a white coated or uncoated sheet. You rather know much about what you’ll get. But this may not always be the most productive, exciting choice. Sometimes you can create a magnificent piece to do something new if you opt for a colored paper stock.
If you do choose to experiment into concealed waters and print on a colored sheet (That is an uncoated sheet in most cases), what should you think about? what decisions you must make and what factors you must address to produce a satisfied printed result?
Firstly, bear in mind that the four standard printing process inks “C, Y, M, K” are transparent. Accordingly, the color of the substrate will change the color of the printing ink. Images printed on the finest stock will have a warmer feel for instance because of the dominance of yellowness in the paper. This could make the flesh tones seem “jaundiced”, so yellow color needs to be isolated of the mid-tones to neutralize, preceding to printing.
On the other hand, images or graphics printed on a bluish-white sheet will have less difference and may appear a bit gray.
Moreover, if the color of the paper will be darker, the more the color of the stock will influence the color of the images more, depending on the darkness of the paper.
And when you are using uncoated, colored sheet, to make prints, you have to be concerned about the dot gain, because the printing ink will drain into the paper fibers through micro-holes and the halftone dots will spread.
With all these reasons forbidding you from using colored paper for printing purposes, what do you think about controlling the result of this unique design decision?
The first thing is, you can request samples of the process inks on your chosen stock. This is called a drawdown. In this process, a flat ink is rolled down onto the piece paper. It will show you steadfast spread and coverage on the paper but it will not show you how multi-colored–4-color images or graphics will look in the final output.
The next thing to do is to have your color printer, add some of your uncoated, colored paper at the end of a similar press run (as used before) for another person requesting a print. Let suppose another client needs printing of 4-color images or the same print job you’re intending to use on a white gloss sheet. Some of the paper is added to your printer at the end of the run, and you observe how the similar job would look on your chosen paper.
A bit same, but much expensive choice would be to request a print press proof. Doing this, you would print a proof of your using your paper job on a smaller proof-press. Then you would be able to see the
differences and make color adjustments to your print files on your computer. After doing successful modifications, you would be able to print the whole press run on a full-size press.
Or you can also avoid the proof press (offset) completely in proofing your job. Find a digital press printer and request a few sheets printed through that digital press, using your job files and your paper.
The result will not be the same as that of the offset, but you will be able to experience the color tones and variations on the colored printer paper and make adjustments accordingly for final printing.
Leave a Reply